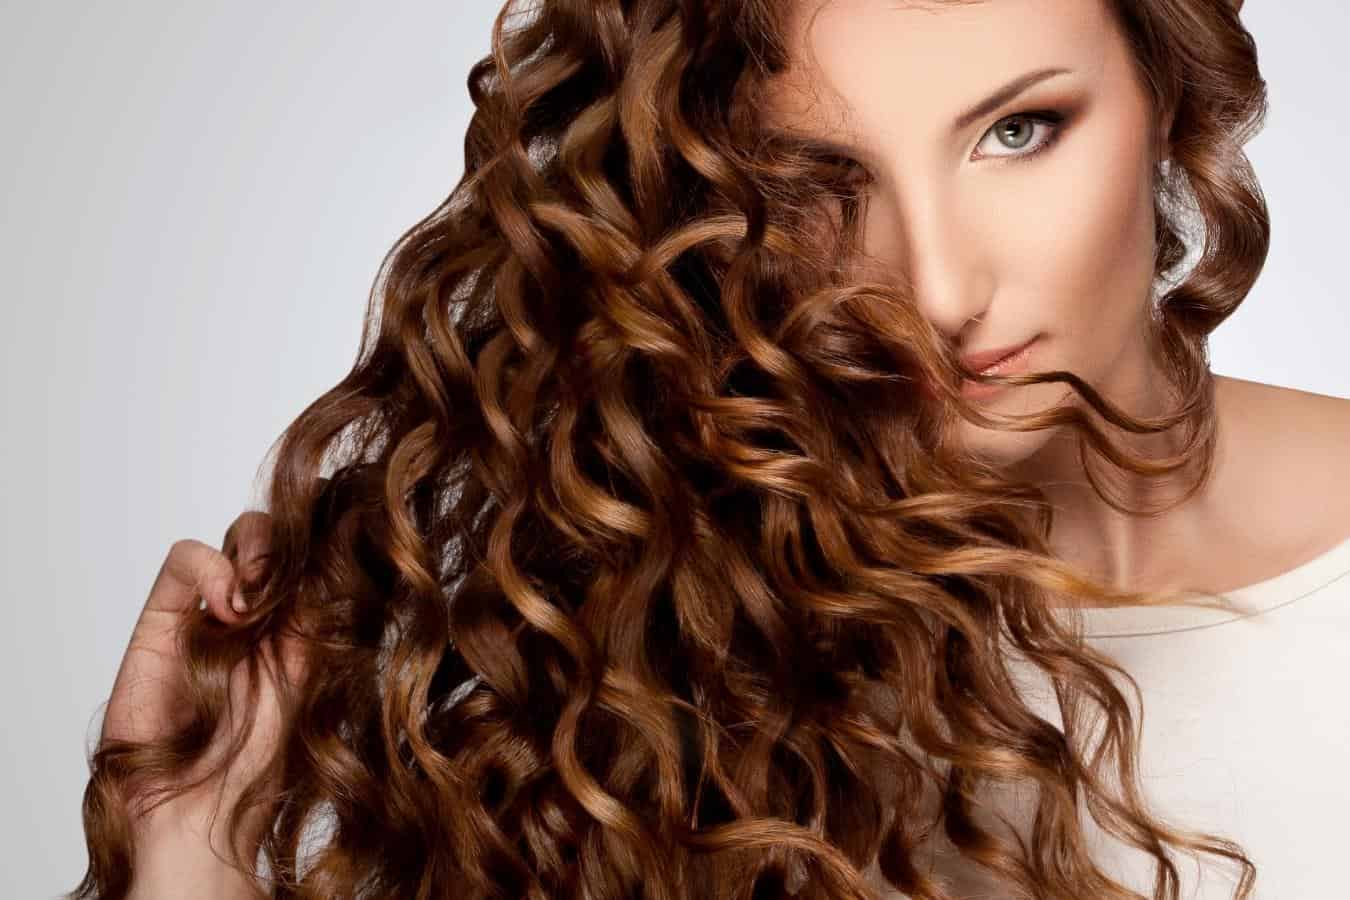
Scrunching out the crunch, also known as SOTC is by the far the most satisfying part of a curly hair routine. In this guide, I show you exactly how to transform your gel cast into soft bouncy curls and give you a few tips on how to achieve the perfect cast.
This post contains affiliate links and we may earn if you click on them (at no extra cost to you). Please read our full disclosure policy here.
What Does Scrunch Out The Crunch Actually Mean?
Scrunching out the crunch is a term used in the Curly Girl community and it essentially means to break your gel cast with your hands, thus revealing super soft and luscious curls.
The gel cast is created by applying a gel or mousse to your curls while they are still wet.
This ensures that hydration is locked in and that each curl becomes defined and frizz-free.
You apply the gel straight after washing on soaking wet hair and then you need to let the gel cast dry.
This can take a long time (we’re talking hours) unless you choose to diffuse your hair. We’ll talk more about how to create the perfect cast later on.
What Causes The Crunch?
As each ‘clump’ of hair, or curl I should say, gets locked in by gel, it dries. This allows your curls to keep their defined shape however in a very stiff kind of way.
The curls need to be released and that is why we scrunch out the crunch. With each scrunch of your hands, the gel cast is broken, revealing very soft, frizz-free curls.
The gel is still present and helps to keep the curls in shape but they are no longer confined within the cast.
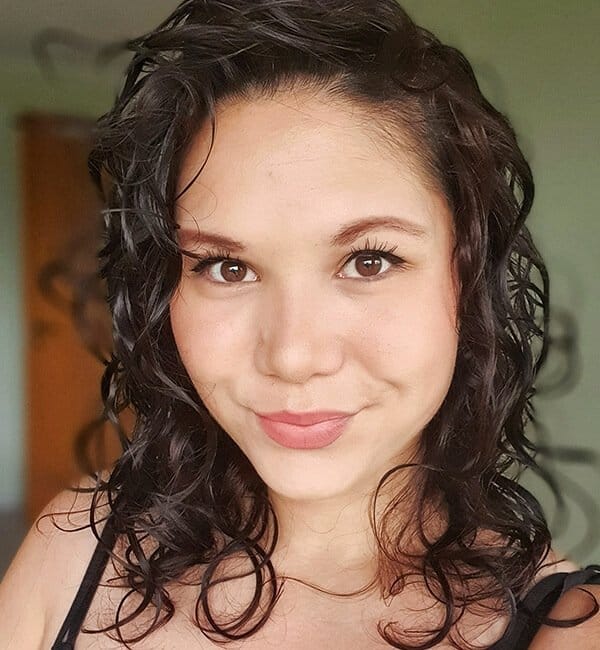
My hair in a gel cast
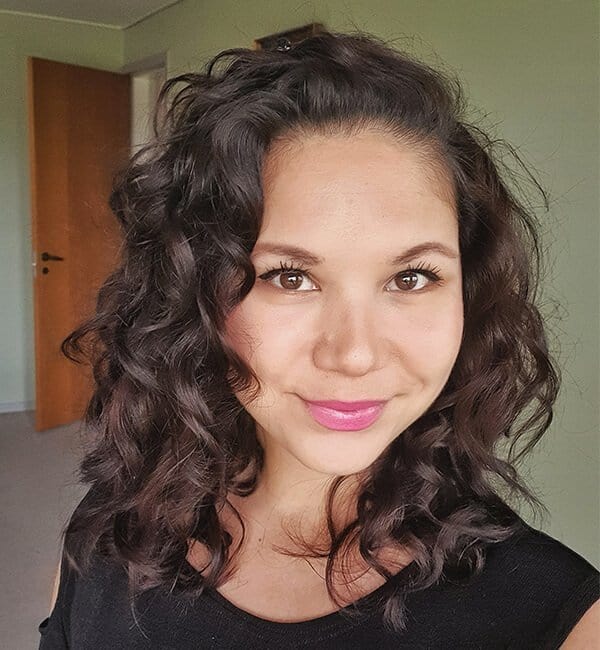
My hair after scrunching out the crunch
How To Scrunch Out The Crunch On Curly Or Wavy Hair
Once your gel cast has hardened, the process of scrunching out the crunch is very simple and effective, yet there are a few tricks to the trade:
1. Your Hair Should Be Completely Dry
It is very important that your hair is 100% dry when scrunching out the crunch.
This is because any moisture that is released before you break the gel cast will affect the condition of your curls, and thus the final result.
Moisture will cause frizz and also weigh down your curls. No part of your hair should feel wet to the touch.
Waiting for the cast to dry can take hours, so using a diffuser is often the better answer. More on that below.
2. Decide If You Want To Use A Product
Essentially, there are three types of products you can use for scrunching out your gel cast: Oil, conditioner, or mousse.
Oil can help tame frizz and add shine to curls while conditioner offers hydration.
Mousse can add extra volume but could potentially also dry out hair.
Below we’ll talk more about how to use each individual product but for now, let’s take a look at the steps on how to scrunch out the crunch.
Instructions – How To Scrunch Out The Crunch
- Ensure that your hair is completely dry
- Bend forwards and use your hands to slowly ‘scrunch’ your curls towards your roots
- Make sure you crunch out eat curl probably, leaving no trace of hard gel
- Tussle your roots
- Flip your hair backward and scrunch out any last bits, especially the ends
- Style flyaways with hairspray or mousse and use oil for additional shine
And that’s how simple it is!
If you want, you can use a microfiber towel or a t-shirt while scrunching. Some curlies say that it provides a smoother results but personally, I’ve never really had a need for it.
I think that a towel provides more static than my bare hands so I don’t see a reason to do it.
Using Products To Scrunch Out The Crunch
As mentioned above, you can use various products to help break your cast. This is good to do if you suffer from breakage or your hair easily turns frizzy.
I like to mousse every now and then even though it has a drying effect on my hair. This is because it adds volume to my curls and roots and I just prefer a ‘bigger’ look.
Let’s take a look at the products you can use:
Scrunch out the crunch with Oil
Oil is great to use if you suffer from frizzy or static hair. Simply apply a small amount of oil to the palm of your hands before scrunching out the gel cast.
My favorite oil to use is the certified organic Jojoba oil from Cliganic. It’s cheap and a few drops just does the trick.

[amalinkspro type=”cta-btn-css” ctabtn-id=”6″ asin=”” apilink=”https://www.amazon.com/dp/B01A74442I?tag=supinda-20&linkCode=osi&th=1&psc=1″ addtocart=”false” new-window=”true” nofollow=”true” alignment=”aligncenter”]Buy on Amazon[/amalinkspro]
Make sure you especially get the outer layers of your hair, but don’t oversaturate it.
Oil can very quickly turn greasy so if you have fine hair, I would not recommend this type of product. I would use mousse instead.
Scrunch out the crunch with Conditioner
Conditioner is a great product to use for scrunching if you suffer from dry hair.
Gel in general will dry out your hair a bit and so it’s always good to add a bit of hydration to your curls.
How to use:
- Apply a thumb-sized conditioner or leave-in conditioner to your hands and rub the product between your palms.
- Flip your hair forwards and scrunch out your curls. Be careful to not use a sticky type of conditioner as it can cause the curls to stick to your hands, thereby causing frizz.
I recommend using a super lightweight conditioner like the Noughty Wave Hello conditioner. I just love this. It is so light and it has a divine smell.

[amalinkspro type=”cta-btn-css” ctabtn-id=”6″ asin=”” apilink=”https://www.amazon.com/dp/B078W7F9R5?tag=supinda-20&linkCode=osi&th=1&psc=1″ addtocart=”false” new-window=”true” nofollow=”true” alignment=”aligncenter”]Check Price on Amazon[/amalinkspro]
Scrunch out the crunch with Mousse
Not many curly girls like to use mousse when breaking their cast, but I think it adds a bit extra volume.
I have quite fine hair and although my hair can get dry, I really like the ‘not so perfect’ look I get when I use mousse.
I sometimes scrunch out the crunch first and then scrunch again with some mousse and make sure I focus on my roots.
I then flip my hair forwards and voila, I have really big beautiful bouncy curls.
My favorite mousse to use is the Aussie Turn Up The Curl mousse. It doesn’t have an overpowering smell and it has a really good hold.

[amalinkspro type=”cta-btn-css” ctabtn-id=”6″ asin=”” apilink=”https://www.amazon.com/dp/B07NFRMCFX?tag=supinda-20&linkCode=osi&th=1&psc=1″ addtocart=”false” new-window=”true” nofollow=”true” alignment=”aligncenter”]Check Price on Amazon[/amalinkspro]
I sometimes also use this mousse to create a cast. It won’t hold as well as gel but it gives me a softer look.
I don’t like my curls to be too tight so if you’re looking for a more casual look, try creating a cat with mousse rather than gel.
Diffusing To SOTC
I mentioned diffusing earlier. To be honest, waiting for a gel cast to set can take hours and who really has the time in the mornings?
Enter, the diffuser. It’s a super-easy way to dry your curls in less than 20 minutes so you can be out the door and get on with the things you’re supposed to do.
After all, we’re busy people!
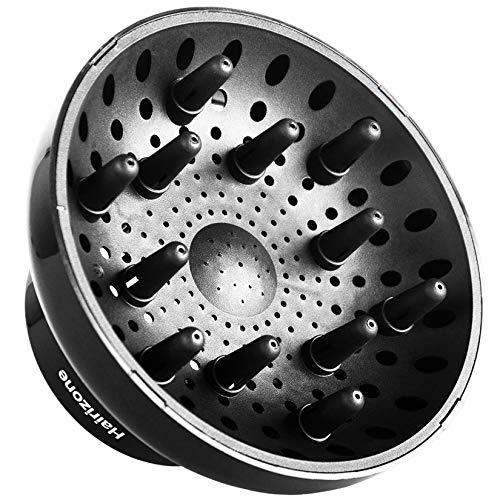
A diffuser is basically an attachment for your hairdryer that directs all the air through tiny holes.
This way, the air isn’t blowing your hair sideways or up and the cast stays intact without creating frizz. That’s our number one goal, to avoid frizz and keep the cast intact.
I use the Harizone diffuser that I bought from Amazon. It’s so easy to use, it fits on most hairdryers (if it doesn’t fit, send it back) and it’s a bargain.
[amalinkspro type=”cta-btn-css” ctabtn-id=”6″ asin=”” apilink=”https://www.amazon.com/dp/B01N05UG34?tag=supinda-20&linkCode=osi&th=1&psc=1″ addtocart=”false” new-window=”true” nofollow=”true” alignment=”aligncenter”]Check Price on Amazon[/amalinkspro]
So to diffuse your hair, I suggest simply clipping your roots with alligator clips before you start. This way you’ll be able to keep some volume. I got mine from Amazon and they look like this:

Instructions:
- Dry your roots first, so aim the diffuser towards your scalp. You can do this standing up or you can bend forward.
- Set the desired heating setting (medium is best) and let the diffuser do its job.
- Take sections of your curls and cup each section. Place them within the diffuser and let the magic happen.
- Alternate between different sections, trying not to disturb the curls too much.
Some frizz will occur, this is unavoidable.
But if you’re gentle, you should be able to dry your hair in about 20 minutes.
Once your hair is completely dry, take out the root clips and flip your hair forwards. Scrunch out the crunch and you’re good to go.
How To Achieve The Perfect Cast
Here are my foolproof tips for achieving the perfect cast:
1. Use the right gel for your hair
It’s very important to use the right gel for your hair. It is not always easy to know what this is, which is why it’s important to try different ones.
I would not buy a super expensive gel to begin with. Try a budget-friendly gel like the Eco gel.

[amalinkspro type=”cta-btn-css” ctabtn-id=”6″ asin=”” apilink=”https://www.amazon.com/dp/B06XF8LB8L?tag=supinda-20&linkCode=osi&th=1&psc=1″ addtocart=”false” new-window=”true” nofollow=”true” alignment=”aligncenter”]Check Price on Amazon[/amalinkspro]
This can do the job well and have great hold. Some gels will weigh down your hair whilst others simply aren’t strong enough. Experiment and see which one works for you.
2. Create big juicy clumps before using gel
This is a very important step. Make sure you’ve eliminated as much frizz as you can before applying gel and that your curls are formed in big clumps.
This is the best way to guarantee a great cast.
This means you’re going to be squishing to condish for a little while. Use water combined with conditioner to really hydrate those curls so that they form.
If it feels like there is no more product in your hair, add more conditioner and keep squishing!
And don’t worry if you don’t think it looks like you have many big clumps.
Once the cast sets and you break it free, your clumps will be released and divide themselves into smaller defined curls.
3. Leave a bit of conditioner in your hair
My favorite trick to get juicy, bouncy curls is to leave a bit of conditioner in my hair after washing.
So after you’ve squished and your curls have started to form, apply a few pumps of conditioner to your curls again without rinsing off.
This gives them a much sleeker, shinier look and really helps to lock in the definition.
My favorite conditioner for wash day is the Garnier Banana Hair Food. It’s lightweight, smells great, and won’t break the bank.

[amalinkspro type=”cta-btn-css” ctabtn-id=”6″ asin=”” apilink=”https://www.amazon.com/dp/B07L5WGS2X?tag=supinda-20&linkCode=osi&th=1&psc=1″ addtocart=”false” new-window=”true” nofollow=”true” alignment=”aligncenter”]Check Price on Amazon[/amalinkspro]
If you’re not sure how to best wash your curls or how to encourage your curls to form, read my beginner’s guide to the Curly Girl Method.
4. Apply gel to soaking wet hair
Another great tip is to apply the gel to soaking wet hair. Not just wet hair, but soaking wet. Your clumps should be dripping when you apply the gel.
This helps maximize hydration and minimize any potential frizz. Don’t worry, the gel will hold and you can always add another layer of gel again.
Do remember that you’ll need more gel than you think to begin with.
5. Double gel
Speaking of adding more gel, double gelling is a great way to achieve that rock-hard cast. Apply a layer of gel to soaking wet hair.
Scrunch it up and then apply more gel. This should lock in moisture, keep the clumps defined, and guarantee you a great, hard cast.
6. Diffuse until completely dry
As mentioned above, it is essential that you do not break the cast until your hair is completely dry.
So when diffusing, make sure that you’ve reached all areas, roots, and ends before scrunching out the crunch.
Wait a few minutes after diffusing to check as the heat from the hairdryer can be deceptive and you may think your hair is dry when it is not.
What If I Don’t Get A Cast?
If you don’t get a cast, one of these three things is most likely the culprit:
- You didn’t use enough gel
- You broke the cast while your hair was still wet
- Your gel doesn’t have a strong enough hold
If you have medium to long hair, you’ll need a good handful of gel to get a rock-hard cast.
So make sure you’re using a gel that’s suitable for your hair, use enough of it, and wait until your hair is 100% dry to scrunch out the crunch.
Can I Sleep On My Curls?
You can absolutely sleep on your curls the night after scrunching out the gel cast. It would be terrible if we had to wash our hair every single day!
Sleeping on your curls can be tricky and you can quickly lose your bounce and definition if you’re not careful.
Here are a few things you can do to keep your curls for at least 2 to 3 days.
- Use a hair bonnet
- Sleep on a silk or satin pillow
- Tie up hair loosely
Your curls will never be the same on day two when you wake up, but you can easily refresh them using a bit of product such as conditioner or mousse.
Final Thoughts
I hope this article has helped you learn how to scrunch out the crunch and how to achieve the perfect gel cast.
With a bit of practice, using the right gel and method, you’ll be transforming that rock-hard gel cast into soft bouncy curls in no time!
Disclaimer: This site is not intended to provide professional or medical advice. All of the content on LovedByCurls.com is for informational purposes only. All advice should be followed at your own discretion. Ingredients may change at any time so always check the product label before using. Check our full disclaimer policy here.