If you’re looking to improve the longevity, bounce, and definition of your curls, you’ve come to the right place. In this article, I will teach you just how to get the perfect gel cast that will reveal soft, bouncy curls any day of the week. Let’s get started!
What Is A Gel Cast?
Contrary to belief, curls don’t just ‘happen’. If you see someone with beautiful, defined curls, they most likely have a curl routine that involves scrunching a whole bunch of gel into their hair, letting it dry, and then ‘scrunching’ it out to reveal soft curls.
And that’s essentially what a gel cast is.
So the process goes a little something like this:
- Wash hair
- Apply generous amounts of gel to soaking wet hair
- Let hair dry until each curl is encased in hard gel
- Once hair is dry, scrunch hair to ‘break the cast’.
Benefits Of A Gel Cast
Although a gel cast can take a few hours to achieve if you dry your hair naturally, the benefits definitely outweigh the time spent.
These include:
- Super defined curls
- Less frizz
- Volume
- Hydrated curls
- Bounce and shine
- Can last for days
Essentially a gel cast will lock in moisture from your wet curls as the gel dries around each curl. This is great as people with curly hair, in general, have much drier hair than people with straight hair.
This is because it’s harder for the natural oils in the hair to travel down the hair shaft, due to the curly structure of the hair.
So hydration is essential of course. But as each curl dries separately, it also helps with definition. Goodbye frizz!
And most importantly, depending on the gel you use, each curl will hold up so much longer which means you only have to wash your hair once or twice per week.
How To Get The Perfect Gel Cast In 5 Easy Steps
Whether you have wavy hair or curly hair, a gel cast can make all the difference to your hair routine. So let’s get to it.
Step 1. Wash Your Hair
Use your favorite shampoo and conditioner and wash your hair as normal.
If you follow the Curly Girl Method, you can skip the shampoo and use one of these CG-approved conditioners for co-washing instead.
Step 2. Squish To Condish
This step is crucial so follow the instructions carefully.
- Bend your hair forwards so that water is dripping down the back of your in front of you
- Squeeze a generous amount of conditioner between your palms and work it into your curls, ‘squishing’ them in an upwards motion towards your scalp.
- As you continue to squish, you should see your curls forming individually. The bigger the clumps the better. Apply more conditioner and water if needed.
- Keep squishing until you are happy with the clumps and you don’t see a lot of frizz.
Step 3. Apply Gel
You now want to apply gel.
- Take a generous amount of gel and mix it between your hands.
- Again, doing the upwards scrunching motion, apply gel to your already defined curls.
- Make sure each clump or curl is fully encased in gel. Be careful to not get the product on your scalp.
- Squeeze out excess water as you apply the gel.
- Once you’re happy that each curl has gotten its fair share of gel, use a microfibre towel or an old t-shirt to wrap up your hair.
Step 4. Dry Hair
You now need to let the gel cast dry 100% before you scrunch it out. If you scrunch it out beforehand, your curls won’t be defined and they’ll become limp and frizzy. Not what we want!
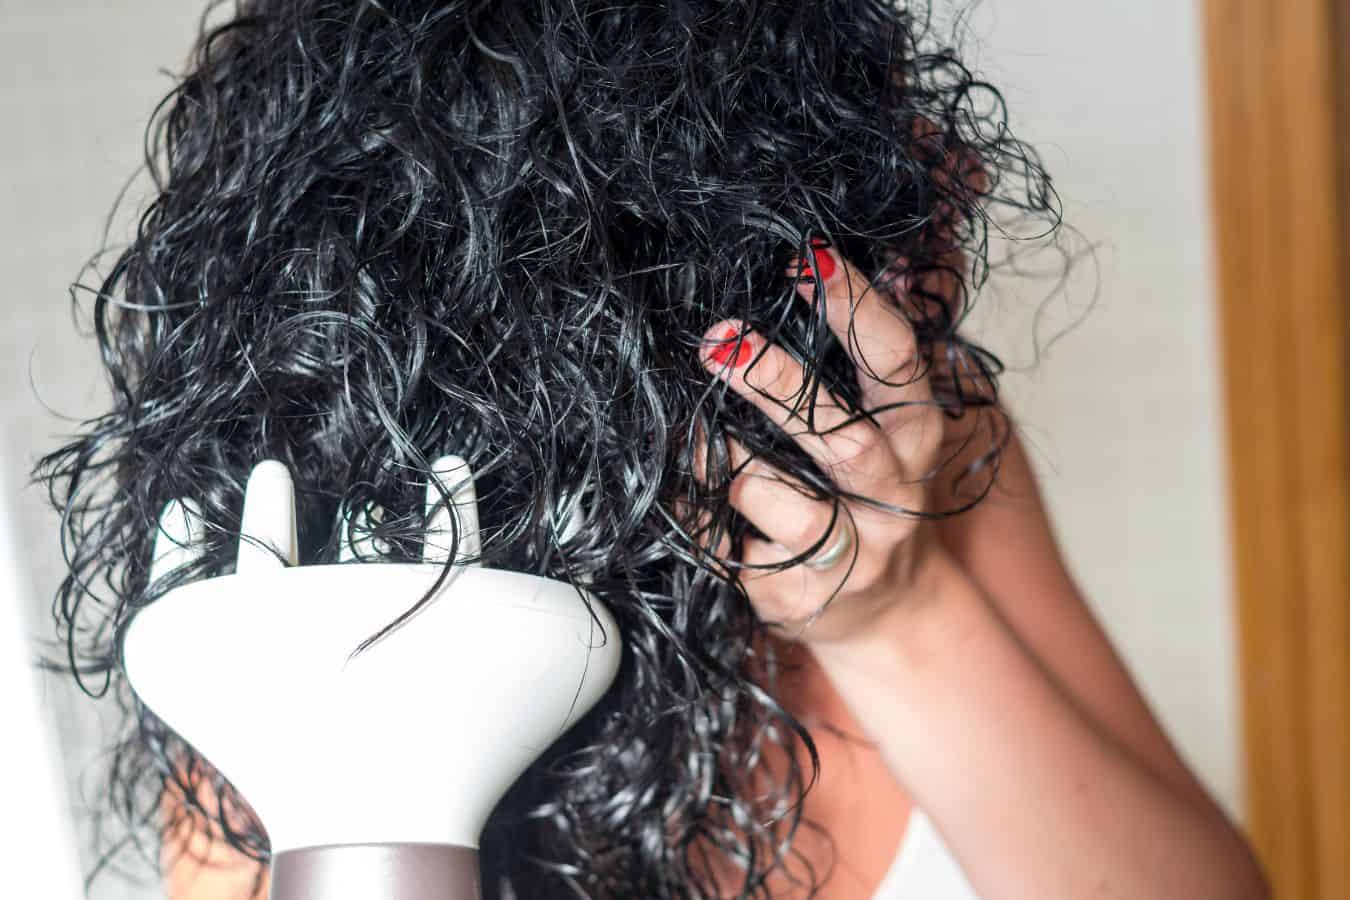
So you can dry your hair naturally (takes a long time, hours!) or you can use a diffuser.
A diffuser is a hairdryer attachment with lots of little holes in it. It will basically dry your hair much much faster without blowing a lot of hair onto your curls. This keeps the curls defined in the process.
I sometimes air dry my curls if I’m not in a hurry, but generally, I always prefer to diffuse.
Check out my post on my favorite hair dryers with diffusers that are great for any curl routine.
If you decide to air dry, use a few small clips to lift your hair at the roots so you get a bit of volume once the cast has dried.
If you are diffusing your hair, check out this video by Kristyn Joanne for the best way to do so.
Step 5. Scrunch Out The Crunch (SOTC)
Now that your hair is completely dry, it’s time to scrunch out the crunch! Any curly girl will tell you that this is the best part. This is where the magic happens so let’s get to it.
- Make sure your hair is definitely 100% dry
- Take a t-shirt or microfiber towel and begin to scrunch out your hair from either side
- Then flip your hair forwards and scrunch out the hair at the scalp
- Give your scalp a bit of a tussle to encourage volume
- Scrunch out every single curl and flip your hair back to reveal incredibly soft, voluminous curls
At this stage, you can straighten out your top bits and flyaways. Some prefer to use a hot tool to tackle any frizz or uneven curls near the crown. It’s completely your choice.
But if you’ve made it this far, congratulations!
What Kind Of Gel To Use
You can use any gel really, but I prefer to use gels that follow the Curly Girl Method. This means they have to be free from parabens, silicones, sulfates and drying alcohols.
These are a few of my favorites that won’t break the bank:
I hope this article has been helpful to you. If so, let me know in the comments!
Frequently Asked Questions (FAQs)
You should only break your gel cast once your hair is 100% dry. If you break it beforehand, your curls will not set and you may experience frizz and limp hair. Use a diffuser to speed up the drying process.
There are three main reasons why you’re not getting a gel cast. 1. You didn’t let your hair completely dry. 2. You didn’t use enough gel and 3. You didn’t let your hair dry long enough.
You can absolutely sleep in a gel cast. Just make sure that the cast is completely dry before you go to sleep. The gel will not set and dry if in contact with the pillow.
You can but you will not get the desired result. The purpose of using gel on wet curly hair is to encase each curl so that they become defined once dry. If you use gel on dry curly hair, the gel will simply smother each strand in product, causing it to become sticky and dry.
Yes, you can definitely use mousse to create a cast. This is especially useful if you’re wanting a more casual look or less defined curls. Mousse is also great to use on wavy hair as it’s not so heavy. Check out my post on the 19 Best Mousses For Curly Hair.