If you’ve ever wondered about the best way to revive your color and how to dilute hair dye without using conditioner we reveal all in this article. Read on to find out more as we highlight a few DIY ways to dilute your hair dye from the comfort of your own home.
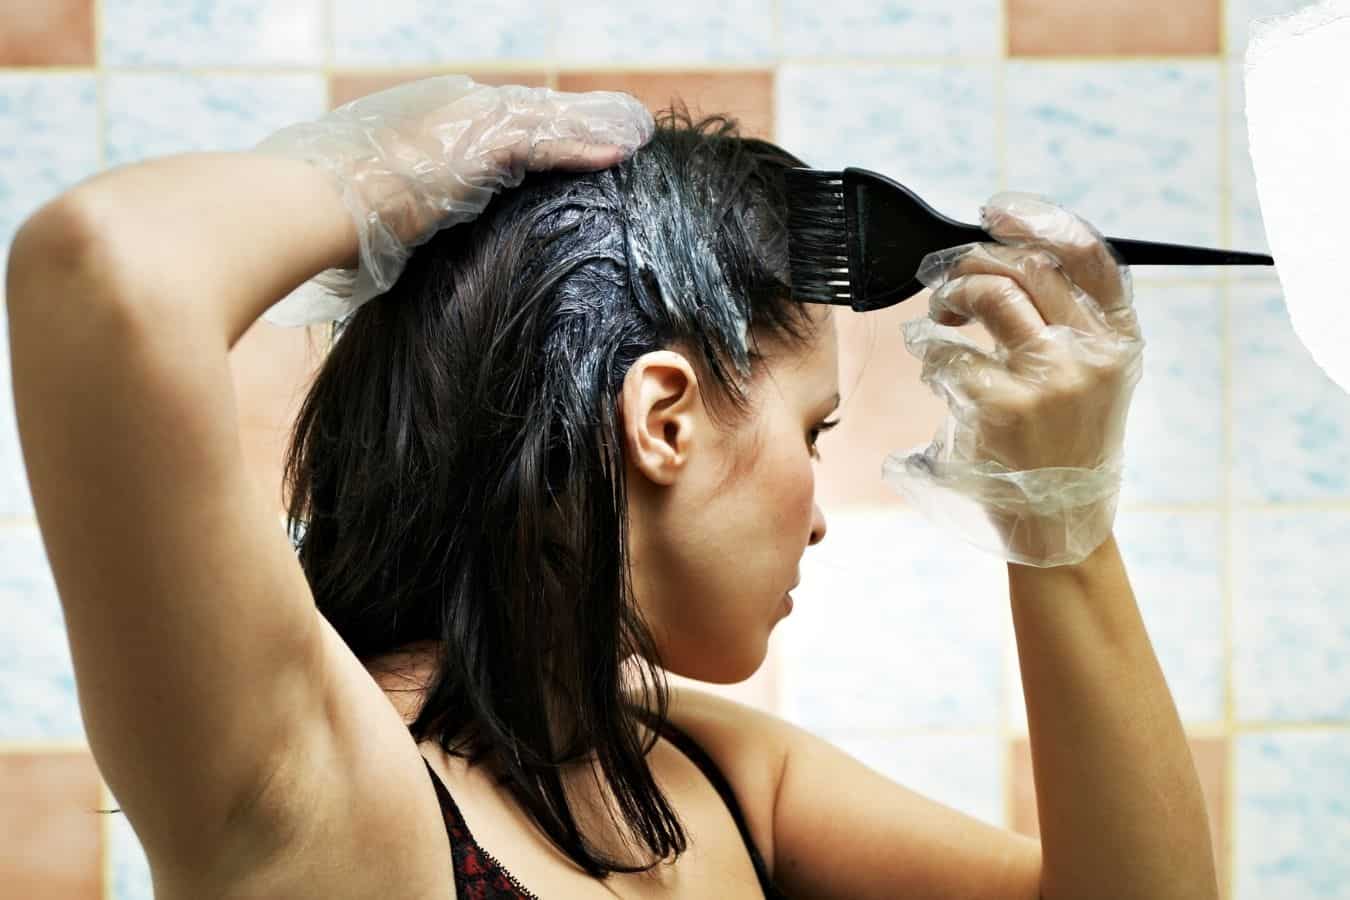
Diluting hair dye without adding conditioner is a straightforward process. Instead of conditioner, use shampoo, hydrogen peroxide, hair oils or even color developer. The results range from creating your very own toning shampoo to a color rinse.
Benefits Of Diluting Hair Dye
As we all know, finding that perfect shade for your hair takes time, money and a bit of trial and error.
So if you’re looking to find a way to protect your hair from the harsh chemicals found in a few commercial hair dye brands, diluting your hair dye formula is a perfect way.
Diluting hair dye also helps to prevent damage and weakening of your hair strands during the process of coloring.
As diluted hair dye will not last as long as regular dye, it won’t penetrate your hair as deeply and will prevent your hair from becoming porous or drying out.
If you would like to create a pastel shade, diluting your hair dye also assists in lightening the final result and will help to create a pastel color.
Of course, there is also the option of using henna hair dye which is completely natural.
Other benefits of diluting your hair dye include:
- The ability to create your own color rinse
- Creating your own unique shade of color
- The ability to change the intensity of the color
- Diluting your hair dye helps to tone your hair
- Extending the time between trips to the hair salon
Why Should I Dilute Hair Dye with Conditioner?
For some people looking for ways on how to dilute your hair dye without damaging the formula, conditioner is an ideal solution.
It’s also a fantastic way to protect your locks against harsh chemicals present in most commercial hair dyes found on the market today. It can even help get rid of some of the smell of hair dye.
For others, adding conditioner to the mix is a way to help to lighten the overall shade of the hair color and create a muted tone for the final result.
This can also be done by mixing hair colors. For example, if you want a burgundy shade, you might mix brown and red hair dye to get your desired color.
Conditioners have the ability to reduce the harshness of the dye color which results in it being less intense.
Therefore, it’s a fantastic way to create pastel shades, revive the overall color and tone, and leave your hair feeling moisturized and shiny.
Diluting your hair dye with conditioner creates what is known to be a color rinse. It’s beneficial in that your color will shine and your strands will be well-nourished and looked after.
Check out these conditioners that are great for mixing with hair dye.
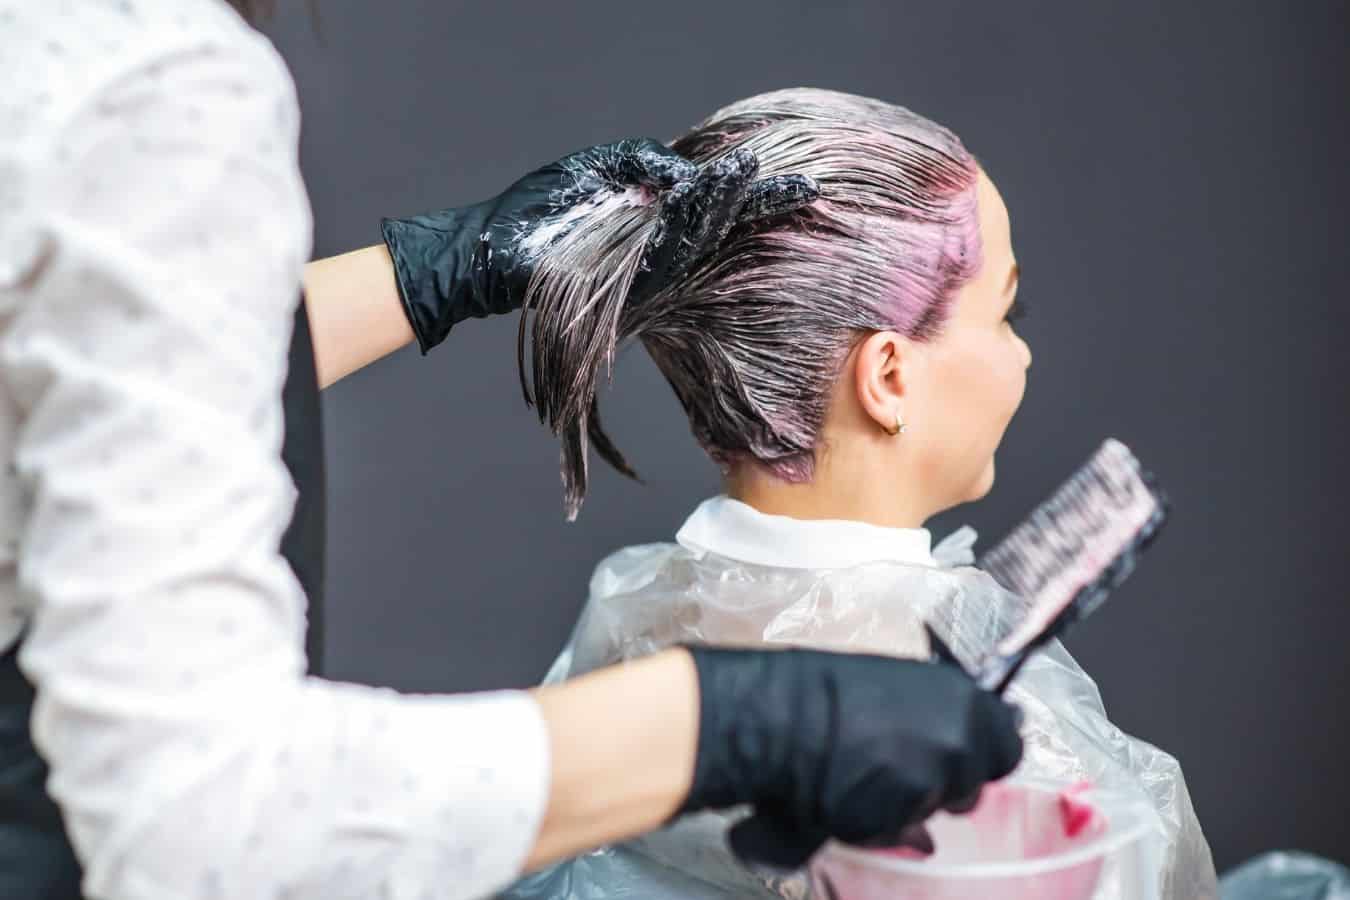
How To Dilute Hair Dye Without Conditioner

We reveal a few simple ways on how to dilute your hair dye without the use of conditioner:
How to Dilute Hair Dye With Hydrogen Peroxide
Hydrogen peroxide is a common ingredient used for both health and beauty purposes. It has varied uses from the ability to bleach hair to treating acne and even disinfecting wounds.
Hydrogen peroxide is also a popular hair dye ingredient found in most hair dye formulas currently on the market.
Hydrogen peroxide acts as a bleaching agent and removes the natural pigment of your hair so that your new desired color can be inserted on top.
It comes in different concentrations but is often available at 3% concentration in most pharmacies.
As it is a strong chemical, it could be harsh for your hair. We, therefore, recommend applying a hair treatment or oil to care for your hair a few days after your home coloring application so you can enjoy healthy shiny hair.
What you will need:
- A hair dye kit of your choice
- Hydrogen peroxide
- reusable latex gloves
Method:
- Take one part of 3% hydrogen peroxide and two parts of hair dye to make it 1% diluted
- Combine the two ingredients thoroughly and mix well
- Apply the mixture directly on to your strands and cover evenly
- Allow the mixture to develop for around 30 minutes before rinsing
- Wash your hair thoroughly and apply conditioner
We recommend that you follow the instructions on your hair dye kit closely as each brand may differ slightly.
Hydrogen peroxide can be damaging to your skin, so we advise the use of latex gloves to protect your hands from coming into direct contact with the chemical.
Also place a towel on the floor to protect the tiles from staining.
How to Dilute Hair Dye with Shampoo
If you’re looking for another method on how to dilute your hair dye without using conditioner, shampoo is a great alternative.
It will help to brighten the tone of your hair and to revive the color. If you are looking to dye your hair for the first time this method is not suitable.
In order to achieve the best results, you will need to use a shampoo that is white in color.
We recommend avoiding colored shampoos such as purple shampoo, as this may interfere with the hair dye and affect the final result of your hair coloring process.
Diluting your hair dye with shampoo as opposed to conditioner will result in creating a toning shampoo.
This DIY toner can easily be made at home. It also proves to be highly affordable as salon toning shampoos can be quite costly.
The overall amount of shampoo and hair dye required for this method depends entirely on your target color.
You will need to also decide if you wish to create an individual use application or toning shampoo for multiple washes.
What you will need:
- Half a bottle of regular shampoo that is white in color
- Half a tube of your desired hair color
- An empty bottle to store your toning shampoo
Method:
- Pour the regular shampoo formula into the empty bottle
- Add the tube of hair dye you set aside to the bottle containing the shampoo
- Mix together thoroughly until it’s combined to form a perfect consistency
- Your new toning shampoo is now ready for use
- We recommend using it when you wash your hair as a regular shampoo to keep your color refreshed and vibrant
How to Dilute Hair Dye with Developer and Conditioner
For another easy hack on how to dilute your hair dye without just using conditioner, adding developer is a popular choice.
If you are choosing to color your hair at home, a hair dye kit from the store will offer everything you need for this next step.
Most commercial hair dye packages include a color and a developer as well as the conditioner.
What you will need:
- A hair dye kit of your choice
- A developer from the hair dye kit
- Your go-to conditioner
- A plastic bowl and spoon for mixing the mixture
- 1 x pair of reusable latex gloves
Method:
- The first step is to add the developer to your hair dye according to the instructions on the hair dye kit. Combine the two ingredients together and mix well
- Add your go-to conditioner to the mixture and mix well
- Now apply the mixture to your hair as usual and let is settle for 20-30 minutes
This method will help you to create a diluted hair dye solution while still maintaining a shade of hair color you desire.
How to Dilute Hair Dye with Hair Oil
A key factor in this process is that you use a pure, natural oil. Pure olive oil or even pure coconut oil are two ideal oils to use.
If you were to use another oil you run the risk of it containing silicones or even chemicals that could negatively react with your hair dye ruining your coloring process.
You will only need a small amount of so as to not interfere with the consistency and formula of your hair dye resulting in a bad reaction.
Be sure not to apply any hair product or oils to your hair before the dying process as this could affect the overall absorption of your color.
An added benefit of using this method is that your hair oil will protect your locks against becoming dry post-coloring.
6 Simple Hair Dye Hacks for Successful Coloring
We reveal eight simple hair dye tricks and tips that you can use when you next color your hair at home:
Organize All the Coloring Tools You’ll Need Before You Start
We understand that at-home coloring is no easy task but there are a few ways to make the process a salon-worthy experience.
We recommend investing in a coloring kit that you can use each time you color your hair as it contains everything you need for an easy process.
Carry Out A Patch Test for New Hair Dye Brands
If you’re looking to experiment with a new hair dye kit and have never used a particular brand before we highly recommend applying a patch test.
It’s a straightforward way to reveal if you are allergic to the brand. Another added benefit is that it gives you the opportunity to see whether the new shade works for your skin tone.
You could choose to apply the color directly onto your hair using a few strands that can be hidden away from plain sight when styled.
This way you can see the final color directly on your hair and get a feel for how it will look.
Avoid the Use of Metal Bowls and Clips
For some commercial hair dyes on the market, the formula can have a negative reaction to metal.
It could result in the mixture oxidizing and this will then affect your final color result. If you’re looking to color your hair at home we advise using a glass or plastic bowl during the application process.
Apply Olive Oil and Toothpaste to Remove Hair Dye Stains on Your Skin
If you’re anything like us and have accidentally come in to contact with some of the hair dye formula on your skin, there is no need to worry.
We have uncovered a simple hack to remove the dye thanks to the use of olive oil and toothpaste.
Simply mix a tablespoon of olive oil with a small amount of whitening toothpaste. Mix these two ingredients together to create a paste.
Apply it directly onto your skin where the stain has appeared, and it will remove the dye from your skin.
Never Trust the Color Result You See on the Box
Choosing a hair color can be a tiring process.
A common mistake is to choose a color based on the hair color on the model that you see on the front of the hair dye packaging.
More often than not, the final color result in real life is lighter and will not look identical to that of the box.
The reason for this is that the developer in most box dyes is actually stronger than the hair dyes used in hair salons.
So, it could result in your final hair color being lighter than you originally intended.
A helpful trick is to look at the color guide displayed on the side of the box as this tends to be more accurate depictions of what your final shade could result in.
Use a Toothbrush to Achieve Highlights
Summer is upon us and one of the most popular hair trends for this season involves highlights.
If you’re looking to achieve this at home in an effortless way, this toothbrush trick is for you.
Simply apply the hair dye to small sections of your hair using a toothbrush. The bristles of the toothbrush help to apply subtle color and it ensures the application will be even.
The finished product will result in your hair having highlights that are well blended and appear natural-looking.
Disclaimer: This site is not intended to provide professional or medical advice. All of the content on LovedByCurls.com is for informational purposes only. All advice should be followed at your own discretion. Ingredients may change at any time so always check the product label before using. Check our full disclaimer policy here.